How to Create a Document in SimpliTrain
SimpliTrain allows administrators to add and manage documents that are accessible to specific courses and user roles (e.g., students or instructors). This ensures that the right resources are available to the right users at the right time.
Steps to Create a Document
- Navigate to the “Create Document” Page
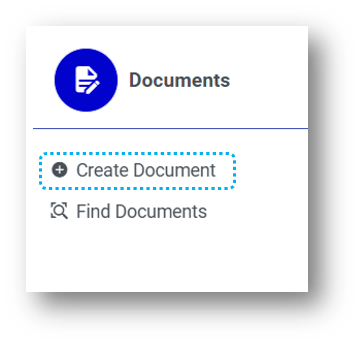
- Go to the “Create Document” option from the main menu.

- This will redirect you to the Create Document

- Go to the “Create Document” option from the main menu.
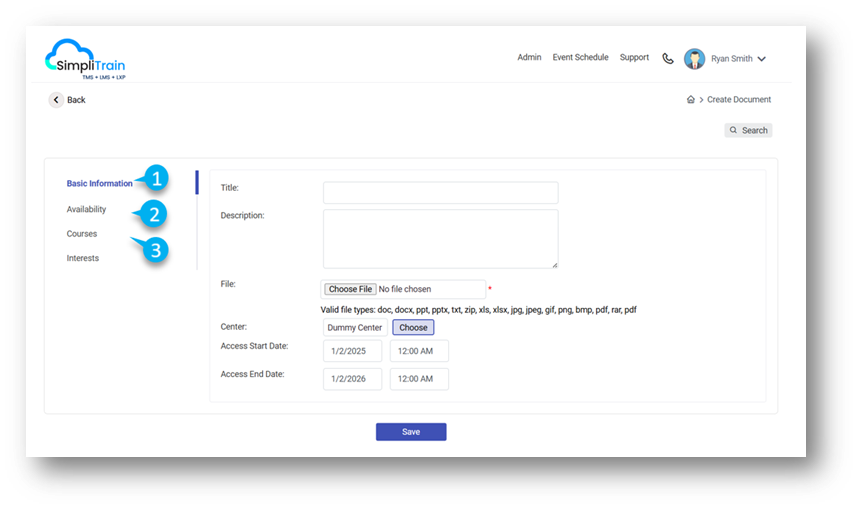
- Enter Basic Information (1)
- Fill in all relevant fields in the Basic Information section, such as:
- Document Name
- Description
- Document File (upload the document).
- Fill in all relevant fields in the Basic Information section, such as:
- Choose the Center
- Select the specific center for which the document should be added.
- Set Document Access Dates
- Define the Start Date and End Date for document accessibility.
- Define User Role Availability
- In the Availability section (2), specify the user roles (e.g., students, instructors) who should have access to the document.
- Assign to Specific Courses
- In the Courses section (3) link the document to any specific courses where it will be made available.
- Save the Document
- Click on the Save button to finalize the process.